How to Write Engaging Processes

How to Write Engaging Processes

How to Write Engaging Processes

Have you ever noticed that there are some processes that you can read from end-to-end, while others lose you at the first step?

Why does this happen? Well, it’s just like reading a book. Some books will grab you right from the first page, and others will end up sitting unread on your bookshelf…

Process writing is a key part of getting people engaged with processes, and with the wider process improvement journey. By engaging your audience, you will get better buy-in to process improvement and significantly increase your likelihood of organization-wide adoption.

Let’s have a look at how to write a good process.

Process improvement success = 1 part process, 1 part engagement

When we implement our process excellence programs for our customers, we spend more time on engagement than any other area. From nailing your internal communications, through to rolling out your first processes, engaging your employees throughout the journey is key to success.

The best part about creating an engaged, process-driven workforce is that not only will it improve how your processes function, it will also improve individual performance. This is because it is human nature to work towards a common, clearly-defined, better state.

A few “best practice” tips to keep in mind

Walk them through it

A well-written process should be able to walk a brand-new employee through the process step-by-step. Yes, you may have raised that purchase order in Xero a thousand times, but remember that your new employee has never done that before. So walk them through it.

Don’t overcomplicate it

Keep it nice and simple. No one is ever going to read your multi-page, 45-step guide to dealing with a customer complaint. Aim to simplify every process you write. The goal is to remove bloat, not add more.

It’s about incremental improvements

Your first take will always be a rough guide. There’s a reason most process applications have version control. Don’t let perfection get in the way of progress. Map the process and then provide it to key stakeholders for feedback. Then rinse and repeat.

The keys to writing an engaging process

Focus on the common path

There will always be exceptions to the process. Don’t get hung up on the “what ifs”. Focus on what happens 90% of the time, and remove any uncommon variations to keep your process simple.

Your process should look nice and streamlined, not like a gigantic spider’s web.

Remove steps by grouping tasks

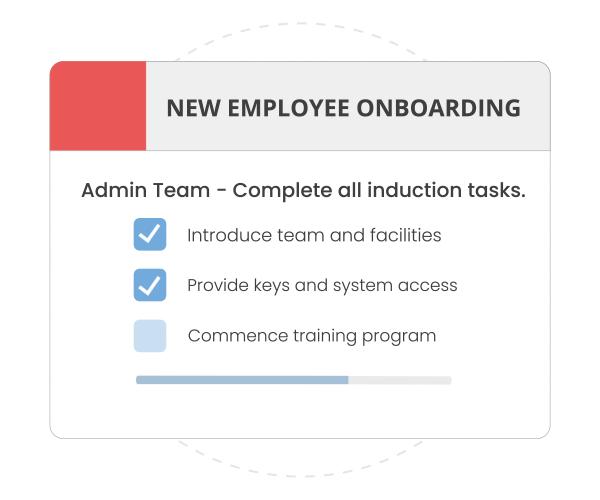
Ever seen a process which has 4 steps in a row designated to the same person or team? This is super-common, and most often it’s unnecessary. By grouping common tasks under a single step you can quickly simplify your process.

Doing this will allow you to keep your processes short and simple. Aim for a maximum of 10 steps within a process. This will make your processes much less daunting when someone accesses them for the first time.

Actions, actions, actions

Always write your processes with an action in mind. What action do you take? You onboard a new employee, you request Capital Expenditure, you process an order.

Every process name and step name should start with a verb. Not only does this create a standardized naming convention, it also makes it clear for users what action they are meant to take.

Add rich content (as much as possible)

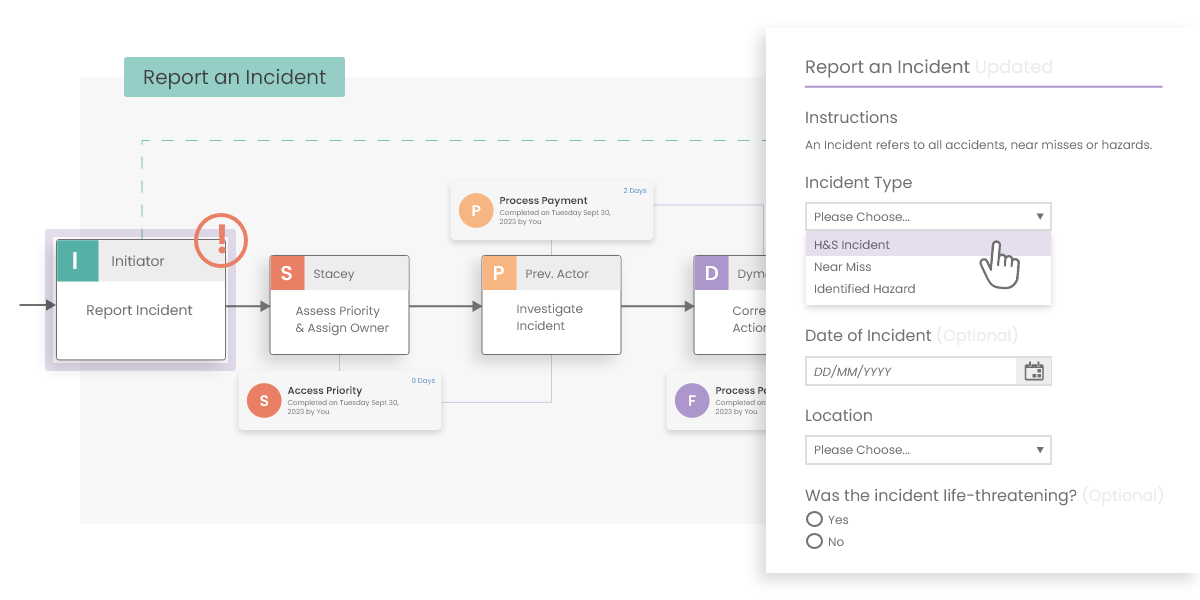
Everyone learns differently. Some of us like to read, some like to watch, some like to listen. It’s important that your processes cater to your entire audience. Keep people engaged by adding in rich content such as videos, images, guides, documents and hyperlinks.

Rather than having written instructions for your H&S induction, insert a video. Instead of typing out what your company welcome pack includes, take a photo and add that into the process.

Quick tip: videos don’t have to be daunting and high-production. Tools like Vidyard are great for walking someone through actions on your screen. Want to walk someone through how to raise a Purchase Order in your ERP? Use Vidyard to record your actions while you’re doing it, showing exactly where to click and what to enter.

Use workflow to deal with exceptions

When documenting a process, focus on the common path and remove exceptions. When turning that process into an automated workflow, you can add those exceptions back in. This is because a workflow will walk people down the correct path without showing them any of the myriad other routes they could have taken.

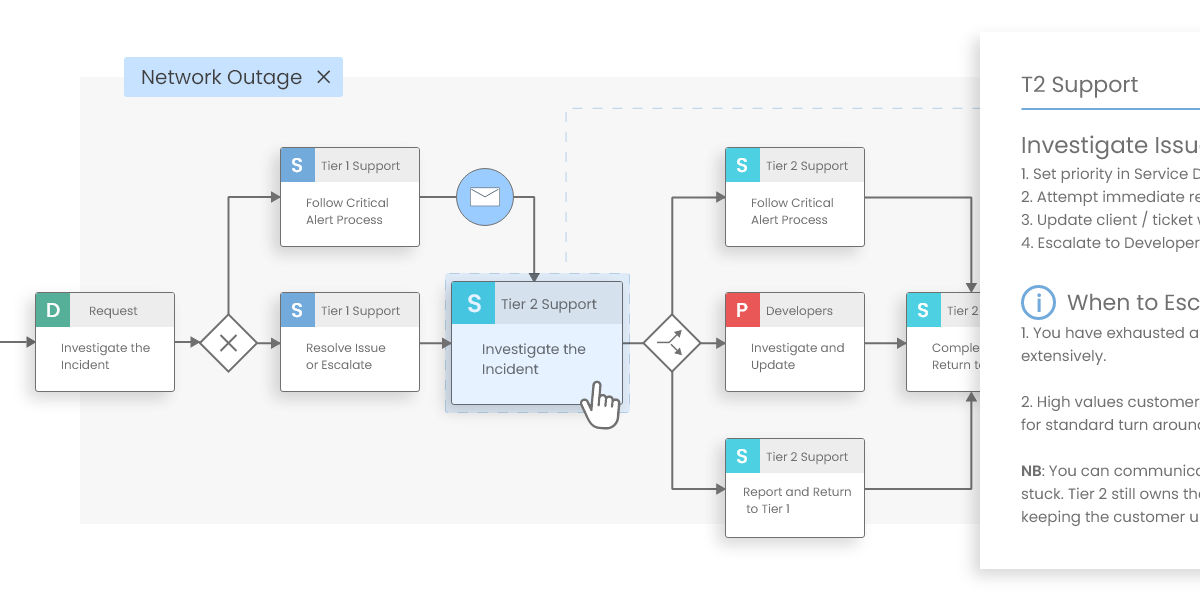
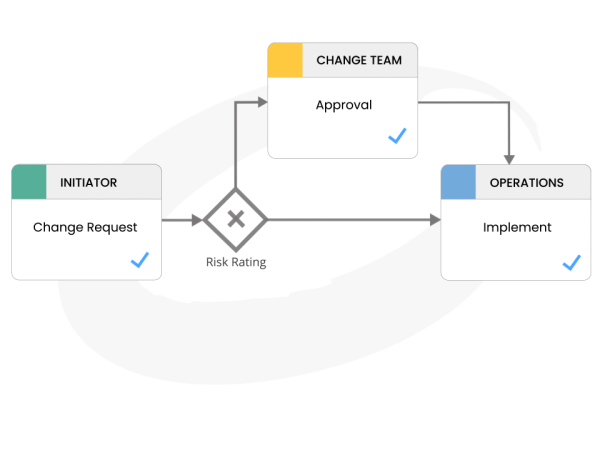
Use decisions and parallel pathways to manage this. Decision pathways will use defined logic to decide which path the process should take, whereas parallel pathways will enable multiple steps to happen at the same time.

Treat your writing like a process

When documenting your next process, follow the tips above just the same as you would with a process. Get your structure. Apply the best practice principles. Group the tasks. Name with a verb. Add in rich content. Pretty soon you’ll have a highly engaging process to share with your workforce!

Want to find out how Flowingly can help you build processes that your workforce will actually engage with? Jump on a call with one of our process specialists today.

If you’d like to learn more about how Flowingly can help you on your process improvement journey, get a demo today!

You’re in good company 

Proud to be driving digital transformation globally.

Energy

Todd Energy are using Flowingly and Power Automate to create a process center of excellence, empowering non-technical teams to help deliver automation at scale.

Enterprise

A Fortune 100 company uses Flowingly to automate 5,000+ process tasks a day for 70,000+ users globally.


Professional Services

Flowingly has enabled rhipe to adopt a line-of-business approach to workflow, allowing the teams to rapidly automate and iterate their business processes without developers.


Local Government

Glenelg's implementation of Flowingly has allowed them to deliver award-nominated employee experiences and a process center of excellence.

Education

NMIT transformed manual processes into automated workflows, delivering significant business benefits and risk reduction.

Food Production

Kyvalley Dairy are using Flowingly to transform their processes, starting with turning their manual, spreadsheet-heavy Capital Expenditure process into a streamlined, auditable digital experience.

Get your business Flowing

Assign a New Contractor

Assign a New Contractor

Assign a New Contractor

When we talk with companies across the construction, engineering and manufacturing industries, the management of contractors and subcontractors is their #1 concern. From contracts to QA to H&S, there are many things to consider when hiring a quality contractor.

With the inherent risks and pressures involved, it is essential to have quality processes in place for engaging contractors. There are many processes you need to manage contractors, including your tendering and delivery processes. The one we tackle here is designed to help you recruit a new contractor or subcontractor onto your books.

1. Pre-qualify Contract Applicants Administration

Before engaging into any agreements with a contractor, you’ll want to do a thorough check on their history to make sure that the relationship will be a successful one.

You may wish to look at:

  • Financial statements or tax returns
  • Information on recent contracts
  • Payment issues
  • Current safety practices
  • Recent incident reports

2.  Interview the Contractor & Check References Hiring Manager

Following the pre-qualification, you will want to interview the contractor and make relevant reference checks.

This provides a good opportunity to request any information that you couldn’t get during pre-qualification and to check any red flags that may have arisen.

3. Complete & Upload Agreement & Licenses Administration

This step is especially important for compliance and legislative purposes. Before progressing further with the contractor, you will want to ensure that contracts have been drawn up and signed. You will also need a copy of all relevant licenses so that you don’t run into trouble further down the track with unlicensed work.

If you are using a workflow platform like Flowingly, you would make the contract and license upload a required field. This means that at any stage you could go back and easily access this documentation for reporting or auditing purposes.

4.  Perform H&S Induction with Contractor Health & Safety

Now that the pre-qualification and contractual terms have been completed, you can start onboarding the contractor. One stage of this will be the induction to your health & safety procedures.

It may be that you need to run them through standardized procedures such as Worksafe. Or potentially you need to take them through procedures specific to your organization or a certain project. Either way, it is important to keep record that this has been completed.

5. Send Payment Instructions to Contractor  Finance

While the Health & Safety team is running through the H&S procedures, you will want to get the financial details in order.

This is a good opportunity to establish a relationship between the finance teams, outline your payment terms and gather the required details to setup the contractor in your accounts system.

6. Set Contractor Up in Accounts System Finance

Once you have all the details to set the contractor up as a payee, it’s time to add them to your system.

7. Meet Contractor Before Day 1 for Walk Through Hiring Manager

Before the contractor starts work on the new project, take the opportunity to meet up with them and discuss the finer details. You may want to include some intangibles, such as your approach to work, how you like your staff to interact with the community, and expectations around behaviour on site.

This is also a good chance to make sure that the payment terms are clear, and outline any key contacts, communication
methods and escalation procedures.

8. Initiate Project Project Manager

The assignment of the new contractor is now complete, and they will now be part of the project itself. The relevant documentation has been completed, the contractor has been run through your H&S induction and they are setup as a payee. What’s more, you now have a full record of the process for auditing and compliance purposes.

This is an excerpt from Flowingly’s latest process guide, Essential Processes for Construction.

Take your processes to new heights with our new process playbook.

Discover the building blocks of process improvement.

Get your business Flowing

Release Notes – 2020 R2

Release Notes – 2020 R2

Release Notes – 2020 R2

Our most recent release of Flowingly signifies a huge upgrade to the Process Mapping capabilities of Flowingly. Let’s have a look at some of the highlights:

Map UI

Interact with Steps directly from the Runner! Using the new map interaction features, users now have the ability to see at a glance exactly what is required at every stage of a process. This means you no longer have to open up each map, just click and drill-down!

This makes for easier navigation and access to the exact Procedures, Policies and Work Instructions that sit within a process.

Process Details

Ever wonder who the owner of a process is? Or need a bit more context around the purpose of the process?

You now have the ability to add more details into a process summary. The following fields can now be edited by admins and accessed by users: 

  • Process Owner 
  • Process Review Date 
  • Background 
  • Objective 
  • Input 
  • Output

Document Attachments 

Need to include the latest SOP or Policy within a process map or workflow? The new Attach Document field in the form builder allows you to do exactly this. 

Simply attach as many documents as you need.  

By having the ability to add documents as well as videos, images and hyperlinks to external resources, you can now include everything an employee may require to complete that process.

Additional Improvements

We’ve also made a number of changes to the following: 

The size of the HTML editor within the Modeler has increased, meaning it is now much easier to edit long Instruction fields. 

Hyperlinks within a Step can now be clicked on directly from the Runner. 

Process details can now be accessed through the Edit button in the Modeler. The Pencil has been removed.

Bonus – Make your processes as engaging as possible

With this upgrade Flowingly now has more options than ever to help you build engaging processes.

Making processes and workflows engaging is important to help facilitate staff adoption and develop a strong improvement culture within your organization.

So how do you do that?

  • Encourage staff feedback and collaboration using the Feedback and Comments sections in Flowingly. 
  • Add rich content to your Steps, such as videos, images and screenshots. People are visual, and videos are much more engaging than text. This is really useful especially for staff inductions and training. (Quick Tip – If you want to make videos but don’t know where to start, give Vidyard a go!) 
  • Include helpful instructions within your processes, rather than just plain text. Same as the rich content, having clear headings, sub-headings and bolded text will help your staff digest information easier.
  • Attach or link out to supporting documents. Having a good process improvement culture includes having all the information you need in a centrally accessible location. This means that your processes should include everything a user needs, from policy documents to SOPs.
If you’d like to learn more about how Flowingly can help you on your process improvement journey, get a demo today!

Get your business Flowing

Process an Invoice

Process an Invoice

Process an Invoice

Processing invoices is possibly the most frequent and essential accounts payable process. Including a new supplier setup step helps keep overall complexity down and keep work flowing. Because circumstances and requirements change, it is also useful to include a step to handle any unmatched invoice and purchase order items.

1. Receive Supplier Invoice Finance

Different organizations will receive their invoices differently, but they commonly arrive to a shared mailbox. This step sees a member of the Finance team record the invoice number and PO number if known. They also indicate if the invoice is from a new supplier.

2. Is it a new Supplier? Decision

If the invoice is from a new supplier, the Finance team are prompted to set them up in the accounting software.

3. Set Up Supplier in Accounting Software Finance

In this step, the Finance team apply for a credit trading account with the supplier. They then add the supplier to accounting software. Some organizations may wish to include an additional step to add the supplier’s information to the intranet for the benefit of non-finance staff.

4. Review and Match Invoices Finance

The Finance team member can now review the invoice and compare it to the purchase order. Now is the time to record is a difference exists in the items, price, or quantity. If the invoice cost is higher, the staff member must attach a form of approval from the respective cost center.

5. Are There Any Items That Don’t Match? Decision

If there is a mismatch between the invoice and PO, this is escalated to the Finance Manager for approval.

6. Approve Unmatched Items Finance Manager

Though some organizations may not explicitly require this supervisor approval, many see it as an unfortunate but necessary precaution against embezzlement. In this step, the Finance or Accounts Payable Manager can review the invoice, PO and approval documentation if required.

7. Enter Invoice Details in Accounting Software Finance

Once the invoice and PO have been matched, the Finance team member can enter the specifics into the accounting software to schedule payment.

8. Process Payment Finance

Finally, once the payment has been made, the process is complete.

This is an excerpt from Flowingly’s latest process guide, Essential Processes for Finance.

Essential Processes for Finance

Build Your Digital Processes

We asked our process experts to dig into the issue and breakdown critical finance processes that can help companies immediately.

This book covers the small and frequent processes as well as processes you might struggle to find documented anywhere else.

Get your business Flowing